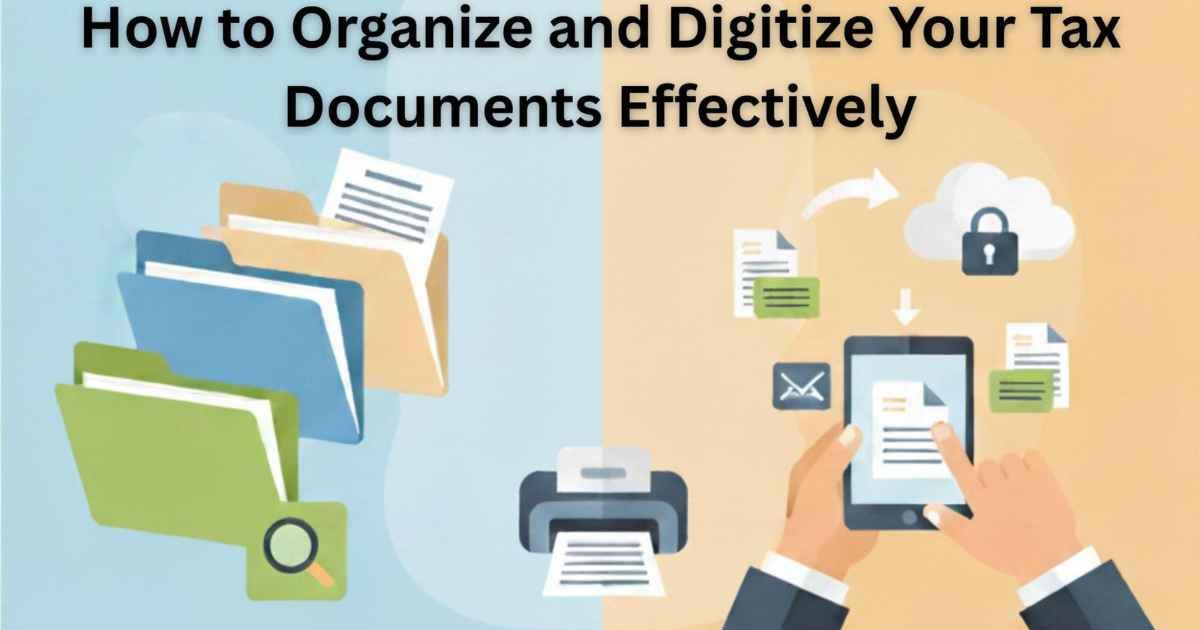
It’s not an easy task to manage tax documents. There are many complexities involved. You need to be careful when preparing and managing them to ensure you can access them at the right time.
However, when you keep them organized and digitized, the job gets a lot easier. It can save you a lot of time and effort.
When you need to file your tax returns, you don’t have to wade through piles of paperwork. In this blog post, I’ll share some useful tips on how to organize and digitize tax documents. Let’s divide the topic into two. The first half will talk about organizing tax documents, while the second half will explain how to digitize physical tax documents.
Organizing Your Tax Documents
The first phase is to organize all your tax documents. It’s about getting them to avoid any confusion. A cluttered pile of tax papers can make digital organization difficult. So, you need to start with a system that is easy to maintain. Here’s how you can do it:
Start by Gathering Everything
It involves going around your office and home to check for and collect all the tax-related papers and documents. This may include income statements, important receipts, invoices, and more. Check out every place you think that may have tax-related documentation. You may want to check your drawers, closets, and even old folders. You never know where an important paper might be. Finding it now will save you time and frustration later when you need it. It’s about getting everything in one place, so you know what you have in hand.
Classify Based on Year and Category
After you have everything in place, the next step is to sort your documents by year and category. For example, you can place all the documents relevant to 2024 in a folder named ‘’documents 2024.’’ Within each year, you can also separate documents by category. You can create sections for documents in specific categories, such as investment, income, invoices, and expenses. Keeping documents organized this way will help you access them later when you need them.
Use a Simple Labeling System
The labeling does not need to be complex. So label document folders clearly. This will help you avoid going through stacks of papers. Try to use the simplest names possible. For example, if you are storing receipts from 2024, the easiest label to assign is “2024 Receipts.” It’s short, simple, and easy to remember. For labeling, you can use printed labels, sticky notes, or permanent markers, whichever suits you best.
Review and Declutter Regularly
It is advised that you review your documents at least once a year. Look for anything that you no longer need. It could be expired receipts or unnecessary papers that will never be used. This is how you will get rid of unimportant stuff. You will have less clutter, and it will be easier for you to maintain your documents.
Digitizing Physical Tax Documents
This phase involves digitizing paper-based documents. Having a digital version of such documents is important, as you never know when they might be damaged in a fire, flood, or simply get lost. So going digital will not only protect against physical damage but also help you save space. Now, let’s find out how you can turn your physical paper into digital documents.
Gather Paper Documents That Need to Be Digitized
You need to gather all the necessary documents you believe are relevant and can be used in the tax filing process. Also, make sure that these paper-based documents are in tidy condition. Remove paper clips and staples to ensure maximum accuracy.
Scan Your Documents
This involves scanning the documents that you want to convert into digital text. If you have a specialized scanner, it is great. But if you don’t have one, you can rely on a scanning app on your phone. There are many apps available that can easily turn your smartphone into a scanning device.
Make sure you scan the documents in good lighting conditions. Poor lighting can affect the scanning accuracy. Save them under clear names that match your labeling system. This will help avoid any confusion along the way.
Extract Text from Scanned Images
Now, you need to extract text from the scanned documents. Doing it manually is not an option for those who need to convert scanned documents in bulk. You should get assistance from automated solutions.
For example, a text extractor from image can be incredibly useful. It will automatically convert your scanned documents into digital text files in a couple of seconds. It employs OCR technology to identify and extract text from scanned documents and images, converting it into editable, shareable text files. Most of such tools also support batch processing to handle multiple images at once.
Once the text is extracted from scanned documents, you can easily paste it into spreadsheets, digital records, or tax preparation software.
Save and Backup Files
After extracting text and organizing your digital copies, it’s time to store them safely. If your tax records are saved as PDFs, the Smallpdf Organize PDF tool can help you arrange pages and keep files in the right order before storing them. Create folders on your computer or cloud storage that match your paper filing system. For example, have a main folder called “Tax Records,” with subfolders for each year and category.
Cloud storage platforms such as Google Drive, Dropbox, or OneDrive are also good options. They securely store your files and make them available from anywhere. If you want local storage, use an external hard drive and keep the backup file in a safe place.
You may also password-protect your PDFs or folders for additional security if they have sensitive data in them.
Keep It Consistent
Digitizing once isn’t enough. Make it a routine. As soon as you receive any new tax documents, scan them immediately, or at the latest by the last day of the month. Make it a habit. It will keep your system streamlined and tension-free.
You can even commit to a “digital filing day” every quarter. It doesn’t take more than an hour and spares you the trouble of piles of paper at year-end.
Why Digitizing Your Tax Documents Matters
Digitizing isn’t just about going paperless. It’s about peace of mind. Imagine needing a document from two years ago and finding it in seconds instead of hours. You’ll save time during tax season and reduce the risk of losing important papers.
You’ll also safeguard your records against physical destruction. Paper files can be destroyed by fires, floods, and lost folders, but copies in the cloud are secure. And with a text extractor from images or PDFs, you’ll have editable, searchable versions that make record-keeping all the easier.
One advantage is how easily you can share documents with your accountant or tax professional. Rather than sending reams of paper, you can email or send a folder link. It’s quicker, neater, and more efficient.
Wrapping Up
There is no need to invest in high-end software or expensive tools to organize your tax documents. Anyone can do it quite easily. All they need is a simple configuration of tagged folders, a scanning device or mobile phone camera, and a reliable image-to-text converter to do the job. It won’t cost you anything to ensure a smooth organization of tax documents.
The takeaway is to start small and stick to it consistently. It might take some time at first, but once you get used to it, it will be a piece of cake. During tax time, you’ll be glad you took the time to sort through and digitize everything in the first place.
Being prepared isn’t just convenient. It empowers you to master your financial files. And that’s worth every second you invest in organizing.
“This content is for informational purposes only and does not constitute legal, tax, or financial advice. For advice specific to your situation, consult a qualified US attorney or CPA.”
File Your LLC Today
25$ off with a coupon
Lock in EasyFiling's transparent rates and get lifetime compliance support at no extra cost.
Get Started Now
Swostika Silwal